Friday, January 22, 2016

5 Art Room Hacks


1. Dry Erase Boards


If I could request that the walls in my room be made of dry-erase board I would probably do it. I use them to track rewards the kids have earned. The picture on the left, shows where the kids can sign-up to "sit in the teachers chair" etc. I also have one attached to by bulletin board to explain the project that is being displayed. I have small table top easels to display with sculptures and I use them as a center for free draw.

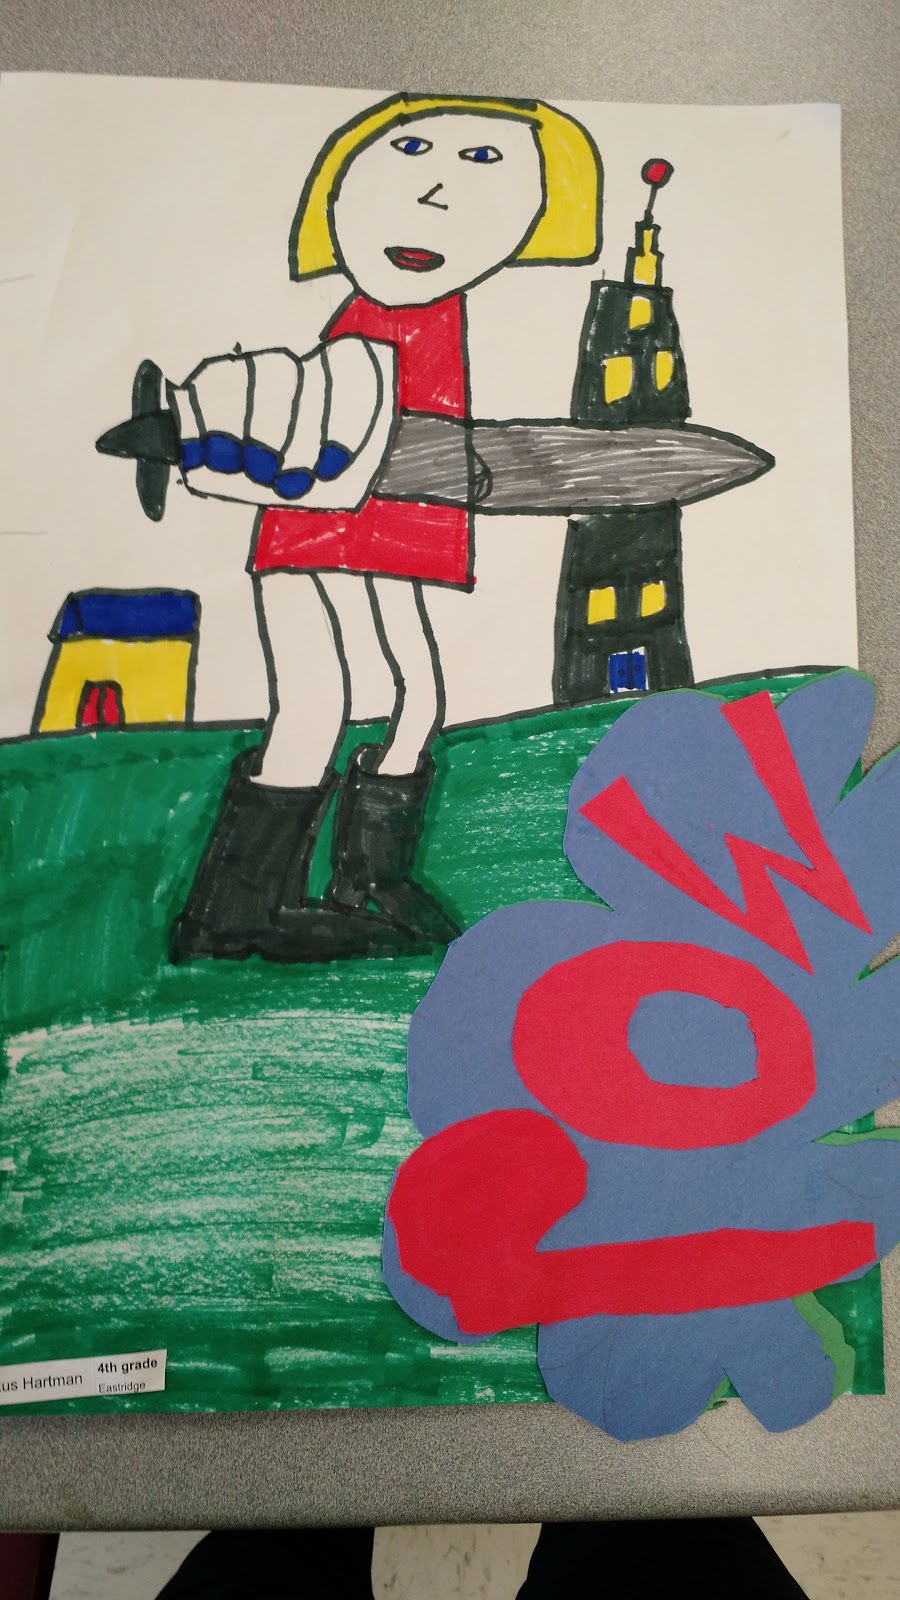
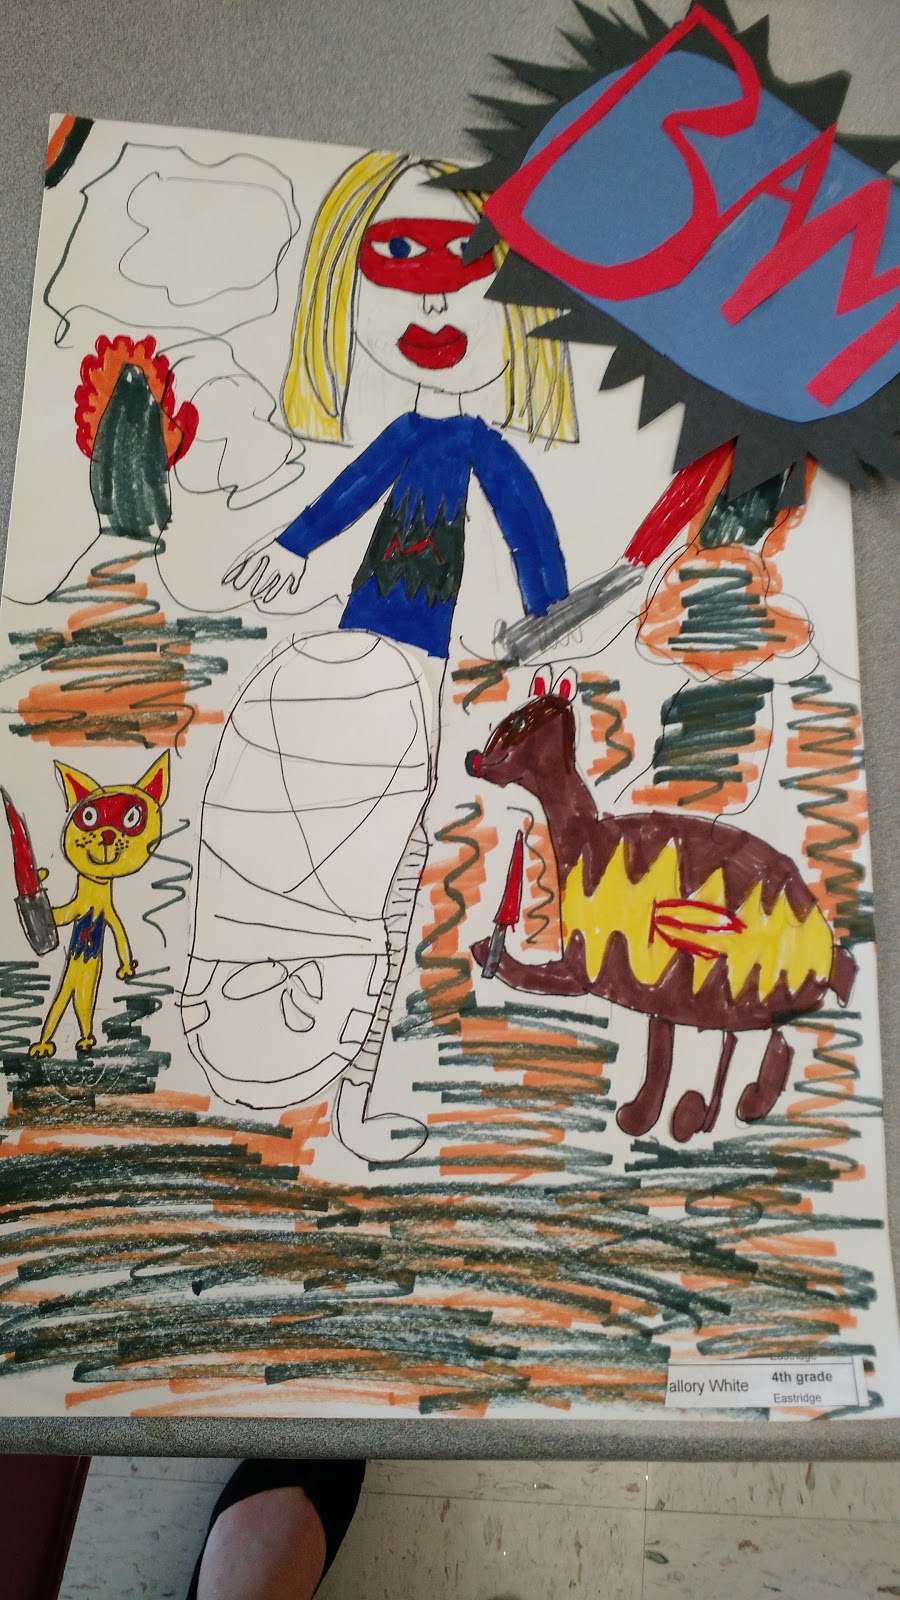
2. Make the kids do as much work as possible...


This is an idea I thought was going to be a big flop, but I was wrong. This bulletin board has a artwork label for every kid in the school. I hung a pair of scissors and some glue sticks from the board as well. When a student finishes they can go find their label and attach it to their art. No more last minute labeling before the art show!


3. Story-Gami

You'll find  them in this blog that I only have access to circa- 2005 technology, but I make it work. Do you have kids that are obsessed with origami? Do they always want you to interpret origami books for them? Well, origami is not really my jam, but I aim to serve. This handy dandy DVD is perfect. It has a series of instructional origami videos that are simple. They are accompanied by catchy little stories that make the instructions even easier to follow. The kids can use it totally independently. I have had kids as young as 1st grade use it. It is perfect as a center or for early finishers.

4. Use pictures when possible...

I was finding that my littles had trouble remembering where they sit from week to week. I tried numbers, but the poor things have sooo many numbers to memorize between lunch codes and computer passwords. Turns out random pictures on the tables trigger their little brains better. Problem solved. 

5. Label everything, BIG!


 "Art teacher, can I use a ruler?" "Sure." "Where are they?" "In the drawer labeled rulers." "Where is that?" "Where I'm pointing" " I can't find it" AHHHH! So... BIG numbers. "They are in drawer number 14." Much easier.


Super Hero Kids!


These super-hero self portraits turned out so fabulously I had to share them. The original goal of the project was to give the kids a chance to practice communicating through their art, -to tell a story. I also wanted them to begin identifying different art styles and characteristics of said styles.


I knew to make this work, I was going to have to teach the kids about foreshortening. So.. let's be honest, that's a 9thish grade skill and these are 4th graders, but I didn't fill them in on that piece of information.

I gave the kids some handouts of popular superheros and heroins (that's important friends!) and told them to practice drawing. I let them trace once, then draw.

We talked about the pictures. I asked them what they all had in common. They were able to identify the foreshortening pretty easily ("there is stuff popping-out." "there's always a big thing"). YAY!We were off to a great start. Also, the kids were so excited about drawing comics, they weren't worried about the difficulty.


Next, I took a picture of each kid in a foreshortening friendly pose and printed it for them. I gave the kids a 9x12 piece of paper and a 12x18 piece of paper. I told them to draw whatever "popped-out" of their photograph (foot, fist, hand) on the 9x12 paper and it had to take up the whole paper. Then they drew their bodies on the 12x18 paper. THey cut out what they drew on the 9x12 and glued it onto the drawing of their bodies.

After that, the kids added details and backgrounds, turning themselves into awesome superheros. The pictures were outlined in black, and colored in primary colors.

Finally, the kids added an onomatopoeia bubble that they created from construction paper. Early finishers had a chance to write a story about their character.

 I just LOVE these. My inner feminist is just giddy seeing these little girls draw themselves in these powerful poses and being able to see themselves as heros! So many positives with this project. It took forever, but the kids stayed engaged the whole time because of the subject matter. We got to identify style characteristics in comic book illustrations and tie in ELA with onomatopoeia and writing.


Paper mache Jesus

It is my first non-school post! For this DIY moment I will be making a giant paper mache Jesus. Yes, really. Isn't that on everyone's to-do list?

This sure-to-be fabulous sculpture was requested to be placed on the cross for lent.  I thought it would be most excellent blog content. Better apologize in advance for any irreverence.


And so it begins...


True Confession. I have a somewhat intense fear of wet paper. You know how some people really hate spiders, and when they find one in their house, they shut the door and refuse to go in that room for a week? That is how I feel about wet paper. I will happily capture and free Charlotte for you, but knowing there is wet paper in the other room makes my skin crawl. Blech!

As an art teacher, I have learned to suppress this fear so the kids can experience the joy of paper mache ( I guess, I don't know how anyone can enjoy such a thing). But, this project is happening at MY HOUSE. I have to sleep there.

I always make a big production of telling the kids not to tell me the paper mache glue looks like snot because that is silly and unnecessary. But, y'all, it really looks like snot! #facingyourfearsfortheLord.


Here he is...


Monday, January 18, 2016

Chihuly Tree


elementary chihuly


So I teach art in southern Indiana. My kids don't get a lot of exposure to original contemporary art from world famous artists. However, they do visit the Indianapolis Children's Museum when they are in 3rd grade which is home to this awesome Dale Chihuly sculpture.


So yay, built in background knowledge! I have been wanting to do a Chiluly inspired project for a while. I had been scouring the internet for ideas, but had a few problems with most of the things I saw. Either the projects would take forever, the process didn't really teach the kids anything about Chihuly and his process, the projects were too expensive (sharpies are pricey, friends) or they required melting plastic bottles. I am kind of a fume-o-phobe. So... onward, right?

I found the two projects below. I really like the translucency of the one on the right, but feared it would be too difficult for 4th graders, and the process didn't really have any similarities to glass blowing. The one on the left is super cool, and totally do-able, but I wanted it a bit more transparent and glass like. It does allow the kids to experience Chihuly's process of arranging the glass parts, however.


Carter Lawrence Elementary
All Things Paper

So.. experiment! I took balloons, blew them up. and covered them with 3-4 layers of colored tissue paper and Modge-Podge. I removed the balloon from the paper after it had dried, and voila I ended up with some cool translucent globes. I liked this process because the kids can blow up the balloons and mimic the process of glass blowing a bit. After the kids had made their tissue paper balloon, I gave them a few options of how to cut them:


Some kids ended up with more than one shape. They used hot glue to layer and attach their Chihuly inspired form to a piece of floral wire. They looked like this.

So, now I had to build a structure that the kids could attach their forms to so we could turn it into a finished sculpture. This is where things got hairy. Turns out, I am not an engineer. I tried to be fancy. I didn't want our sculpture to be totally vertical. I wanted it to have a curve to it. This was a bad choice, just make yours straight. 

Never-the-less, I used a piece flexible electrical conduit to try to create the curve. This lead to lots of problems getting the sculpture to stand up. I threaded the conduit through a cardboard core from the fabric store, attaching it all to an upside down flower pot. I thought I was being super-smart with the flower pot. "All the weight, it will hold it up," I thought. Nope- not heavy enough, and not wide enough. In the picture here I have our lovely sculpture tied to a chair so it won't fall over.


The sculpture stayed there for  about 2 months over Christmas break. until I had an epiphany. CHRISTMAS TREE STAND!


I broke the flower pot off and stuck the cardboard tube into the stand. That is what is holding the thing up now. On the bright-side, by the time I had my little brainstorm, it was ooh- January 10th, so said stand was about $1.00. 

I covered that sucker up with some butcher paper. I think it turned out pretty cool. We shall see if it is still standing up when I go to school on Tuesday.


Saturday, January 2, 2016

First Post!

To kick off this blog about art, art education, and bad-ass women, I thought I would start off with a post about my most favorite bad-ass female artist (well, probably just generally favorite artist) Beatriz Milhazes!

This lovely lady makes circ-tacular art that looks like this: 


Pretty amazing. Ms. Milhazes is from Rio de Janeiro. Her art is
intended to invoke a sense of both extreme beauty and chaos. I used her work for the first time in along time in my classroom (why I haven't been doing it all along - I don't know). The kids love-love-LOVED it. I used it to kick- off a unit on expressionism to 2nd and 3rd graders. I asked them what kind of emotions they felt when they looked at this beautiful art and they were able to tell me "happy", it "makes me nervous" and with some other wonderful adjectives sprinkled in. I know you are thinking -Allison, those little kids were just saying feeling words until you told them they had the right answer. But, I think a much, much more likely explanation is that visual art is truly a universal language that brings us closer together as humans. Obviously!

Anyway, here are some things I have done with her work. Below is a bulletin board where I totally ripped a lesson off of the fabulous Cassie Stephens, and combined the kids work with circle paintings we did at the beginning of the year to encourage team work.


Here is some of my personal art that has been heavily inspired by Ms. Milhazes.


In the right one, I took all my physical flaws, multiplied them and them put them on a giant canvas. Its symbolic of letting go of inner insecurities. The on one the left is about anxiety. Why, yes I do work through my issues with art. Why do you ask?

I used Photoshop to take photos and drawings and spiral them into circles. I printed them and collaged them together. The right one is on masonite board on stretchers. I poured resin over it so it is nice and shiny now. The left one is collaged onto canvas and glazed with tinted gel-medium.