Tuesday, June 14, 2016

Get animated!


One of my favorite units to teach is one that explores art careers. It might be because I always teach it at the end of the year and I have summer-dreams floating in my head  OR it might be because it allows me to give the kids real-world applications for the stuff we talk about, which gets them super- excited and engaged.

I have lots of art career lessons, 'cause, like I said, they are my favorite. But, today I'm sharing one that I just started taught for the first time this year. I had my 5th and 6th graders create a short animation using Photoshop. Did y'all know you could even use Photoshop for such a thing? I did not, but then I figured that must be where all those animated GIF internet-memes come from (I'm obviously very with the times).

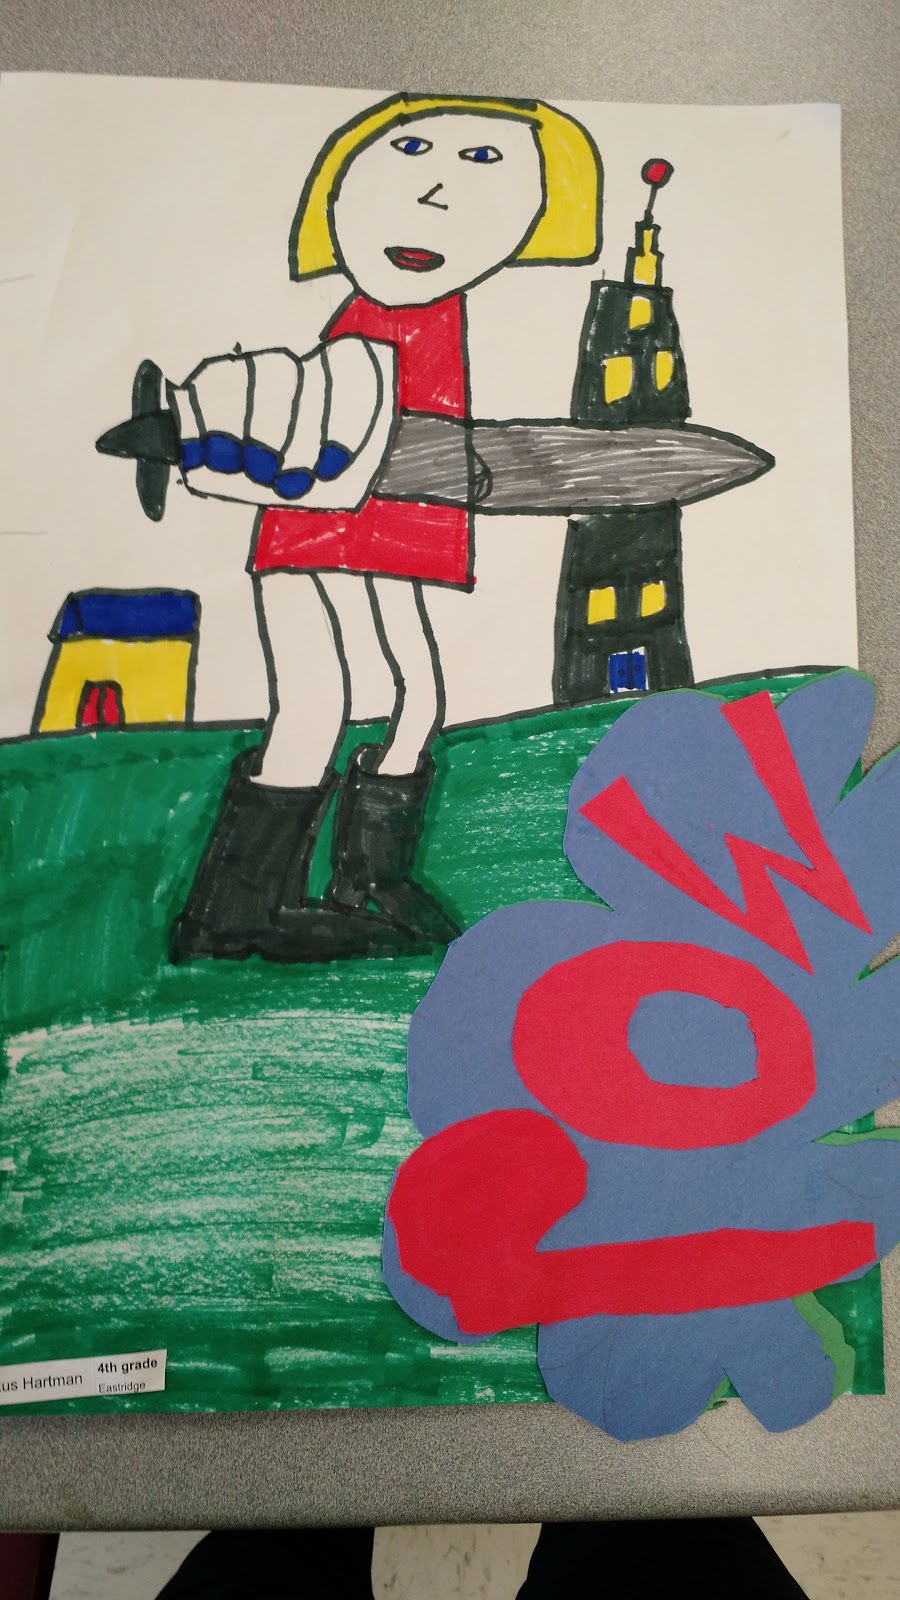
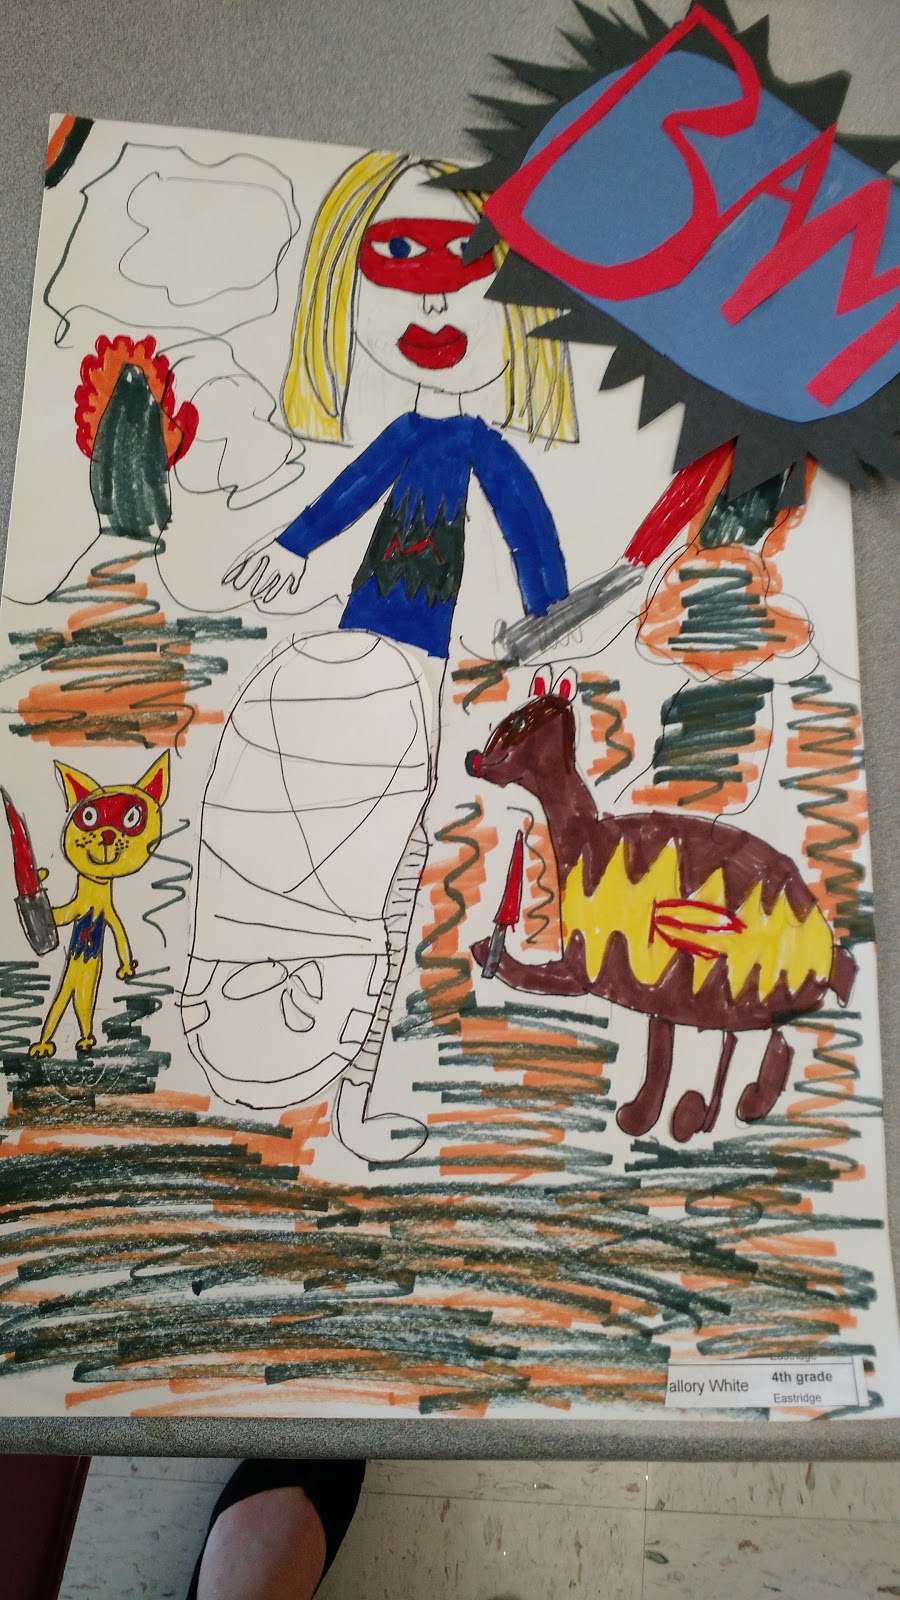
Here are some for the super cute mini-movies my kids created:


Pretty simple but, Photoshop is a pretty complicated program to learn.

So how do you do this? Well, teaching a complicated graphics program to elementary school kids, who don't have that much exposure to technology requires a lot fo patience. So keep that in mind before you begin.

On the first day of teaching, Photoshop I show my kids how to open the program, how to create a new file and how to save a file. I also point out how-to change colors, how-to draw and how-to erase. Plus my favorite Photoshop shortcuts (Cltr "T" = resize, rotate and move and Cltr "0"= make my screen look right, again). Other than that, I just let them play around.

I also give them this handy-dandy Photoshop cheat sheet.

https://docs.google.com/presentation/d/1LjIaCp2e4lmxXZQhTnJGWOrNXryT7BeF9tHn94tpC0U/edit#slide=id.p


On day two we talk about layers. To create a a new layer, you click Layer> New > Layer on the header menu of the program. When you create a new layer, name it. If you are going to draw a fish, name the layer fish, this will make your like much easier in the long-run.

If you are unfamiliar with graphic software, creating a new layer in your file is like putting a new layer on a collage you are making, but not gluing it down. So, if you draw an ocean for the background of you image, create a new layer and then draw a fish, you will still be able to move the fish, resize the fish, erase the fish, etc. without affecting what you drew in the background. THIS IS VERY IMPORTANT.

You will also need to be able to see all the layers you have created because you might want to delete  them, re-order them or change the opacity. In order to see all the layers you have created, go to Window> Layers. Make sure "layers" is checked. Once checked it will show you the layers menu on your screen.

In order to get the kids to understand the mysterious concept of layers, I break out my overhead transparency sheets. I layer them up and talk bout how I can erase stuff and move it around as long as it is on a new sheet, hence a new layer. You can also use this to explain how you need to select the layer you want to work on before you can work on it. If I create a new layer, then want to change my background, I will have to go to my layers menu and select the background.

So, basically, day one the kids need to draw the background for their animation. On day two, they need to open up their file, create a new layer and draw an object they want to move. The kids can obviously have more than one object move, but for each object to move independently, they will need to create a new layer. On the last day, they animate their file.

To do this, go to Window> animation and check off "animation". It will open a window at the bottom of your screen that looks like this:


If your's does not look like this, hit the teeny-tiny button at the bottom shown below:

Next, make sure you have selected the "move" tool from the left menu bar:


Now, you have to add keystones and time-out your animation. Look at this part of the screen:


Find the name of the layer that you wish to animate. Click the arrow next to it. It will give you the option of "position" or "Global lighting" Click the clock next to "position." This should make a yellow diamond at 0.00sec of your animation. This is a keystone. Move the time (blue-arrow at the top of animation menu) then move your object. It should create a gray keystone on your timeline. Continue doing this by putting your object where you want it at different second markers of your animation. Repeat this process for each object you wish to animate in your file. When you want to watch the animation, scroll the time arrow back to the beginning and hit the play button. Viola! 

If this is all very confusing here is a great video from Nicole Dalesio that explains it all very simply: https://vimeo.com/17179594 ,

The final step is to save you file as an animated GIF. You do this by going to file> save for Web and Devices. Make your file a GIF and change looping options to "forever".

You can share these on the school website or school social networks like Edmodo and ClassDojo.

The kids LOVED doing this. In the process of doing this project, we talked about different art careers like graphic designers and movie makers. I don't think the kids really consider all of the places artists work in the world, but this helps open their eyes. It is also a great STEAM lesson. 


Tuesday, March 8, 2016


chile art lesson

Happy International Women's Day!

As a feminist, I have a soft spot for fiber arts. I know that fiber art is probably the most frustrating art medium to teach to elementary kids. Most iterations of fiber art require fine motor skills and the ability to follow specific directions, which our kids usually lack. But, because women and people from non-western cultures weren't part of the art canon for hundreds of years, skipping over fiber art also skips over some of the most important contributions of women and non-schooled artists to the arts and our culture.

Arpilleras are 3-dimensional quilts, created by women in South America. The most famous use of them was by apilleristas in Chile during the reign of Augusto Pinochet. Many families were separated while human rights violations saturated Chile. Female artisans used the colorful quilts to bring attention to the struggles in the country. They sold these works of arts and distributed them through the Catholic Church and human rights organizations. Many of them arpilleras had notes stuffed into hidden back pockets to try to communicate to the outside world.

Here is an beautiful example of an arpillera:

http://www.thefolkartgallery.com/graphics/mountain_village_harvest_scene_arpillera_lg.jpg


So, since arpilleras are a perfect example of art being used to better the world, women's contributions to art, and social justice, I like to use them in my curriculum.

This year, I was asked by the town's public librarian to create homages to Indiana to celebrate Indiana's bicentennial. So, my fourth graders are making miniature arpillera's depicting a famous Hoosier. This project also works well with a theme of struggle, obviously. I have created them with a class of adults with disabilities where they were able to illustrate obstacles in society.

  We displayed the finish pieces in coffee can lids. We took plastic Folgers containers, cut out the middle of the lids and hot-glued our arpilleras to the back. Excess burlap was cut away.

Here are some cute one's from this year. You can see Indiana claims Abraham Lincoln as a Hoosier when we all know he is from Kentucky : ).
Arpillera elementaryfiber art elementary


textile art elementarylatin american art


Here is a video of how I teach my students to make the people:


 Arpilleras are also a great collaborative project. In the below picture, kids created the background pieces with tye-dye. The pieces were machine quilted onto felt. We used clamp shibori dying to create the fabric for the buildings. The students then hand-quilted, added their people and details on top. Kids were given pom-poms, yarn and pipe clears to made embellishments.


collaborative art lesson


Wednesday, February 24, 2016

10 websites to use in the elementary art room


Symbaloo

Symbaloo is a website that lets you create buttons that link to websites. You can add images to buttons so it is easy for kids to recognize. This is useful for keeping kids on webistes that you want them to go to and to help them easily navigate around the inter-webs independently. 

If you are studying modern art, you can create a "webmix" of sites where they can learn about modern art etc. You can make a webmix of origami videos, linear-perspective videos or cardboard sculpting videos.

I use computers as a center and have a webmix of several kid-friendly makerspaces the kids can chose from.

Another thing Symbaloo is good for is writing this blog post. Here is a webmix of all the sites mentioned here:
Ten Websites for Art Class


Pixlr

My school district just made PhotoShop available to elementary kids this year. But, before that Pixlr was a super helpful, free, web-based Photoshop-like app. It is greal for teaching kids the basics of computer -based graphics When they get to high-school digital design and yearbook classes they will be more familiar with the content. I used this program with 4th and 5th graders.

Chrome Build

This site is just so nifty, and the kids LOVE it. It basically lets you build with LEGO digitally! I am not sure what the educational value would be beyond what building with regular LEGO is, but it is just so fun. I think it gives kids a greater spacial awareness :). It also lets kids publish their creations on a Google Map. They can build your town a new stadium, or themselves a new house. It is the best.

Virtual Instructor

This site has lots of practical drawing and painting skills. There are videos for blind contour drawing, perspective, shading and much more. They are great for higher ability kids to explore independently, for guest teachers to show, or for you to show if you, ya know, don't feel like teaching for a minute.

ABCYA Animate

This is a super easy animation program. I have let kids as young as kindergarten use it, but it is still engaging for kids up to 3rd and 4th grade. I think this is a great program to use if you plan on doing claymation videos or some other form of manual animation. It gives the kids a better understanding of what they are doing. It can also be used as a planning tool.

Origami Player

A huge directory of easy step-by-step origami videos kids can follow independently.

Google Art Project

Can't take your kids to the Louvre? Take them on a virtual tour. I have my second graders build an art museum each year to learn about architecture, art museum careers and differences between art genres. This is great tool to give them some background knowledge. It would also be great to use to prepare students for a trip to the local art museum.

Incredibox

This is a music making website that lets kids compose songs. I have used it to let kids make background music for videos they have created. It would be great to use it in collaboration with the music teacher so maybe s/he could actually give the kids some composition tips :).

PicassoHead


This site lets kids make a Pablo Picasso inspired head. It is super easy to use, so it is great for kindergartners to get a taste of graphic design and to use as an extension/ early finisher activity for a cubism lesson.


HelloKids Drawing

This website is a more kids friendly version of the virtual instructor above. Lots of drawing tips and how-to videos. The draw back of this site is that is lots of link elsewhere, so you have to keep a close watch to make sure your kids don't end up on the other side of the web.

Friday, January 22, 2016

5 Art Room Hacks


1. Dry Erase Boards


If I could request that the walls in my room be made of dry-erase board I would probably do it. I use them to track rewards the kids have earned. The picture on the left, shows where the kids can sign-up to "sit in the teachers chair" etc. I also have one attached to by bulletin board to explain the project that is being displayed. I have small table top easels to display with sculptures and I use them as a center for free draw.

2. Make the kids do as much work as possible...


This is an idea I thought was going to be a big flop, but I was wrong. This bulletin board has a artwork label for every kid in the school. I hung a pair of scissors and some glue sticks from the board as well. When a student finishes they can go find their label and attach it to their art. No more last minute labeling before the art show!


3. Story-Gami

You'll find  them in this blog that I only have access to circa- 2005 technology, but I make it work. Do you have kids that are obsessed with origami? Do they always want you to interpret origami books for them? Well, origami is not really my jam, but I aim to serve. This handy dandy DVD is perfect. It has a series of instructional origami videos that are simple. They are accompanied by catchy little stories that make the instructions even easier to follow. The kids can use it totally independently. I have had kids as young as 1st grade use it. It is perfect as a center or for early finishers.

4. Use pictures when possible...

I was finding that my littles had trouble remembering where they sit from week to week. I tried numbers, but the poor things have sooo many numbers to memorize between lunch codes and computer passwords. Turns out random pictures on the tables trigger their little brains better. Problem solved. 

5. Label everything, BIG!


 "Art teacher, can I use a ruler?" "Sure." "Where are they?" "In the drawer labeled rulers." "Where is that?" "Where I'm pointing" " I can't find it" AHHHH! So... BIG numbers. "They are in drawer number 14." Much easier.


Super Hero Kids!


These super-hero self portraits turned out so fabulously I had to share them. The original goal of the project was to give the kids a chance to practice communicating through their art, -to tell a story. I also wanted them to begin identifying different art styles and characteristics of said styles.


I knew to make this work, I was going to have to teach the kids about foreshortening. So.. let's be honest, that's a 9thish grade skill and these are 4th graders, but I didn't fill them in on that piece of information.

I gave the kids some handouts of popular superheros and heroins (that's important friends!) and told them to practice drawing. I let them trace once, then draw.

We talked about the pictures. I asked them what they all had in common. They were able to identify the foreshortening pretty easily ("there is stuff popping-out." "there's always a big thing"). YAY!We were off to a great start. Also, the kids were so excited about drawing comics, they weren't worried about the difficulty.


Next, I took a picture of each kid in a foreshortening friendly pose and printed it for them. I gave the kids a 9x12 piece of paper and a 12x18 piece of paper. I told them to draw whatever "popped-out" of their photograph (foot, fist, hand) on the 9x12 paper and it had to take up the whole paper. Then they drew their bodies on the 12x18 paper. THey cut out what they drew on the 9x12 and glued it onto the drawing of their bodies.

After that, the kids added details and backgrounds, turning themselves into awesome superheros. The pictures were outlined in black, and colored in primary colors.

Finally, the kids added an onomatopoeia bubble that they created from construction paper. Early finishers had a chance to write a story about their character.

 I just LOVE these. My inner feminist is just giddy seeing these little girls draw themselves in these powerful poses and being able to see themselves as heros! So many positives with this project. It took forever, but the kids stayed engaged the whole time because of the subject matter. We got to identify style characteristics in comic book illustrations and tie in ELA with onomatopoeia and writing.


Paper mache Jesus

It is my first non-school post! For this DIY moment I will be making a giant paper mache Jesus. Yes, really. Isn't that on everyone's to-do list?

This sure-to-be fabulous sculpture was requested to be placed on the cross for lent.  I thought it would be most excellent blog content. Better apologize in advance for any irreverence.


And so it begins...


True Confession. I have a somewhat intense fear of wet paper. You know how some people really hate spiders, and when they find one in their house, they shut the door and refuse to go in that room for a week? That is how I feel about wet paper. I will happily capture and free Charlotte for you, but knowing there is wet paper in the other room makes my skin crawl. Blech!

As an art teacher, I have learned to suppress this fear so the kids can experience the joy of paper mache ( I guess, I don't know how anyone can enjoy such a thing). But, this project is happening at MY HOUSE. I have to sleep there.

I always make a big production of telling the kids not to tell me the paper mache glue looks like snot because that is silly and unnecessary. But, y'all, it really looks like snot! #facingyourfearsfortheLord.


Here he is...


Monday, January 18, 2016

Chihuly Tree


elementary chihuly


So I teach art in southern Indiana. My kids don't get a lot of exposure to original contemporary art from world famous artists. However, they do visit the Indianapolis Children's Museum when they are in 3rd grade which is home to this awesome Dale Chihuly sculpture.


So yay, built in background knowledge! I have been wanting to do a Chiluly inspired project for a while. I had been scouring the internet for ideas, but had a few problems with most of the things I saw. Either the projects would take forever, the process didn't really teach the kids anything about Chihuly and his process, the projects were too expensive (sharpies are pricey, friends) or they required melting plastic bottles. I am kind of a fume-o-phobe. So... onward, right?

I found the two projects below. I really like the translucency of the one on the right, but feared it would be too difficult for 4th graders, and the process didn't really have any similarities to glass blowing. The one on the left is super cool, and totally do-able, but I wanted it a bit more transparent and glass like. It does allow the kids to experience Chihuly's process of arranging the glass parts, however.


Carter Lawrence Elementary
All Things Paper

So.. experiment! I took balloons, blew them up. and covered them with 3-4 layers of colored tissue paper and Modge-Podge. I removed the balloon from the paper after it had dried, and voila I ended up with some cool translucent globes. I liked this process because the kids can blow up the balloons and mimic the process of glass blowing a bit. After the kids had made their tissue paper balloon, I gave them a few options of how to cut them:


Some kids ended up with more than one shape. They used hot glue to layer and attach their Chihuly inspired form to a piece of floral wire. They looked like this.

So, now I had to build a structure that the kids could attach their forms to so we could turn it into a finished sculpture. This is where things got hairy. Turns out, I am not an engineer. I tried to be fancy. I didn't want our sculpture to be totally vertical. I wanted it to have a curve to it. This was a bad choice, just make yours straight. 

Never-the-less, I used a piece flexible electrical conduit to try to create the curve. This lead to lots of problems getting the sculpture to stand up. I threaded the conduit through a cardboard core from the fabric store, attaching it all to an upside down flower pot. I thought I was being super-smart with the flower pot. "All the weight, it will hold it up," I thought. Nope- not heavy enough, and not wide enough. In the picture here I have our lovely sculpture tied to a chair so it won't fall over.


The sculpture stayed there for  about 2 months over Christmas break. until I had an epiphany. CHRISTMAS TREE STAND!


I broke the flower pot off and stuck the cardboard tube into the stand. That is what is holding the thing up now. On the bright-side, by the time I had my little brainstorm, it was ooh- January 10th, so said stand was about $1.00. 

I covered that sucker up with some butcher paper. I think it turned out pretty cool. We shall see if it is still standing up when I go to school on Tuesday.